Seysoft Documentation
- Seysoft - Background
- Seysoft - Getting Started
- Login
- Forgot Password
- Cancellation
- Change Subscription
- Home - Information Snapshot
Seysoft - Background
Seysoft.co is an all-in-one, web-based business management platform built for small businesses and startups. Born out of our own experience running a small company with limited resources, Seysoft was created to solve a problem we faced firsthand — the lack of affordable, integrated tools for managing day-to-day operations efficiently.
Most business software on the market is either highly specialized, overly complex, or designed for large corporations with big budgets. We needed something different, a single, unified solution that could handle everything from employee scheduling and time-off tracking to customer management, appointments, sales, and expense tracking, all without draining our resources or forcing us to juggle multiple disconnected apps.
As software developers, we decided to build the tools we couldn’t find elsewhere. One by one, we created systems that streamlined every part of our workflow. The result was Seysoft, a complete digital management suite designed to simplify operations, reduce costs, and give small business owners more time to focus on growth instead of paperwork.
If it helped us run our business smarter, we knew it could help others too. Seysoft is built by small business owners, for small business owners, everything you need, all in one place.
Seysoft - Getting Started
Welcome to the Seysoft Documentation!
This guide is designed to help you get up and running quickly with every feature Seysoft has to offer. Whether you’re managing sales, customers, employees, expenses, inventory, vendors, or system users, this documentation will walk you through how each module works — step-by-step.
What You’ll Find Here
Each section of the documentation includes:
-
Detailed explanations of how each module functions
-
Step-by-step instructions for common tasks
-
Screenshots and examples to make navigation easier
-
Tips and best practices for getting the most out of Seysoft
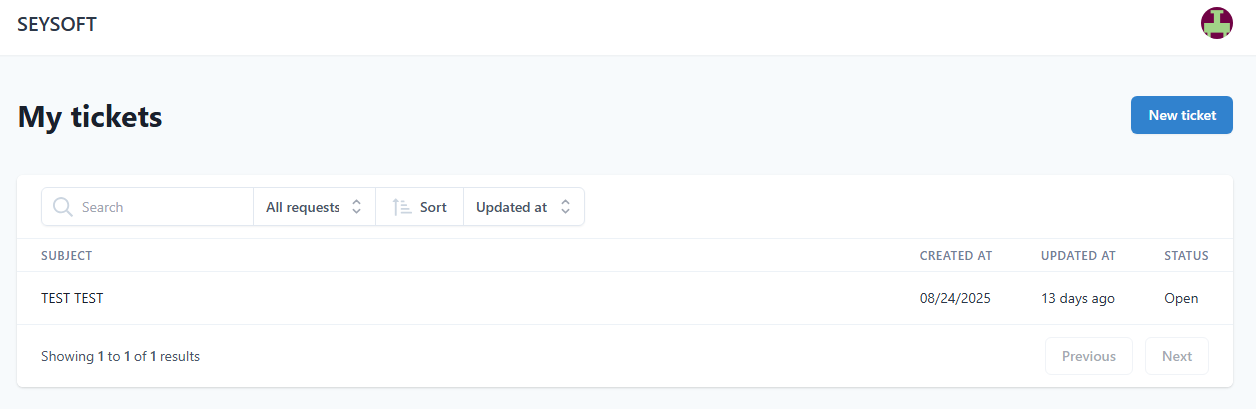
Before You Submit a Support Ticket
We recommend reviewing the relevant documentation section before opening a help ticket. Most common questions and setup steps are covered here, complete with visuals and troubleshooting tips. If you do need to submit a ticket it can be done by going to the main site https://seysoft.co and clicking on the Support tab. You must then log in with your main account and open a new ticket by clicking the blue New Ticket button near the top right of the page. Below is a screenshot for reference.
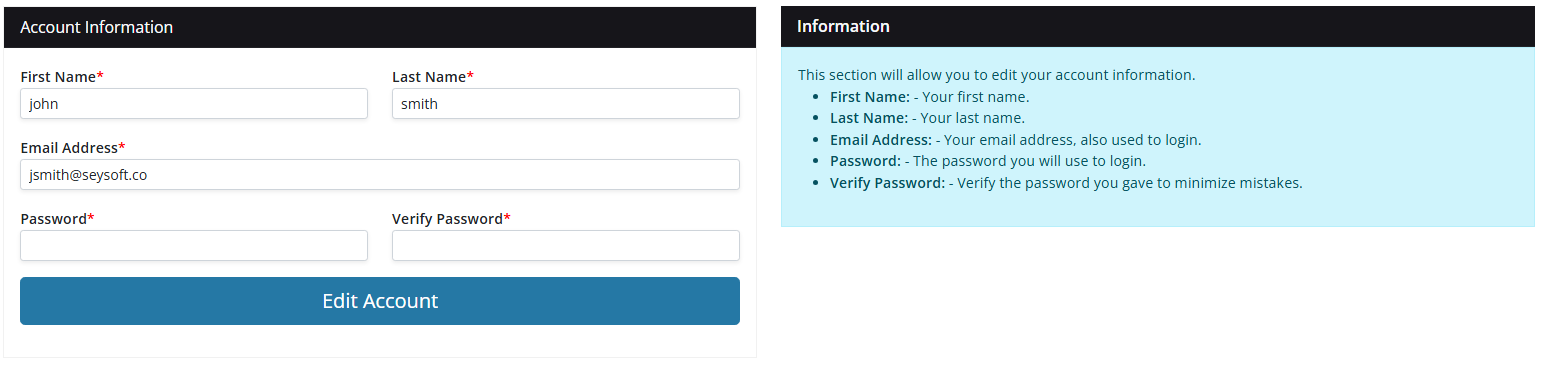
Information Sections
On most of the Seysoft pages and modules there will be a blue Information display near the right hand side of the page. While the docs here give detailed step by step instructions the Information displays also give good concise info for assisting in using the module. We recommend making use of the information in those displays for quick reference before visiting the docs. Below is an example of one of the blue information displays taken from the Account section.
Modules Covered
This documentation is organized by module for easy reference:
-
Sales – Create, track, and manage sales records
-
Customers – Manage client details, appointments, and communication
-
Employees – Track time off, schedules, and staff details
-
Expenses – Log and monitor company spending
-
Inventory – Keep tabs on stock levels and product details
-
Vendors – Manage supplier information and purchase activity
-
Users – Control access and permissions within your system
-
System Settings – Configure Seysoft to fit your business needs
Tip: Start by reading through this section to get familiar with how the documentation is organized. From there, explore each module’s page to learn how to fully utilize Seysoft’s powerful all-in-one business management tools.
Login
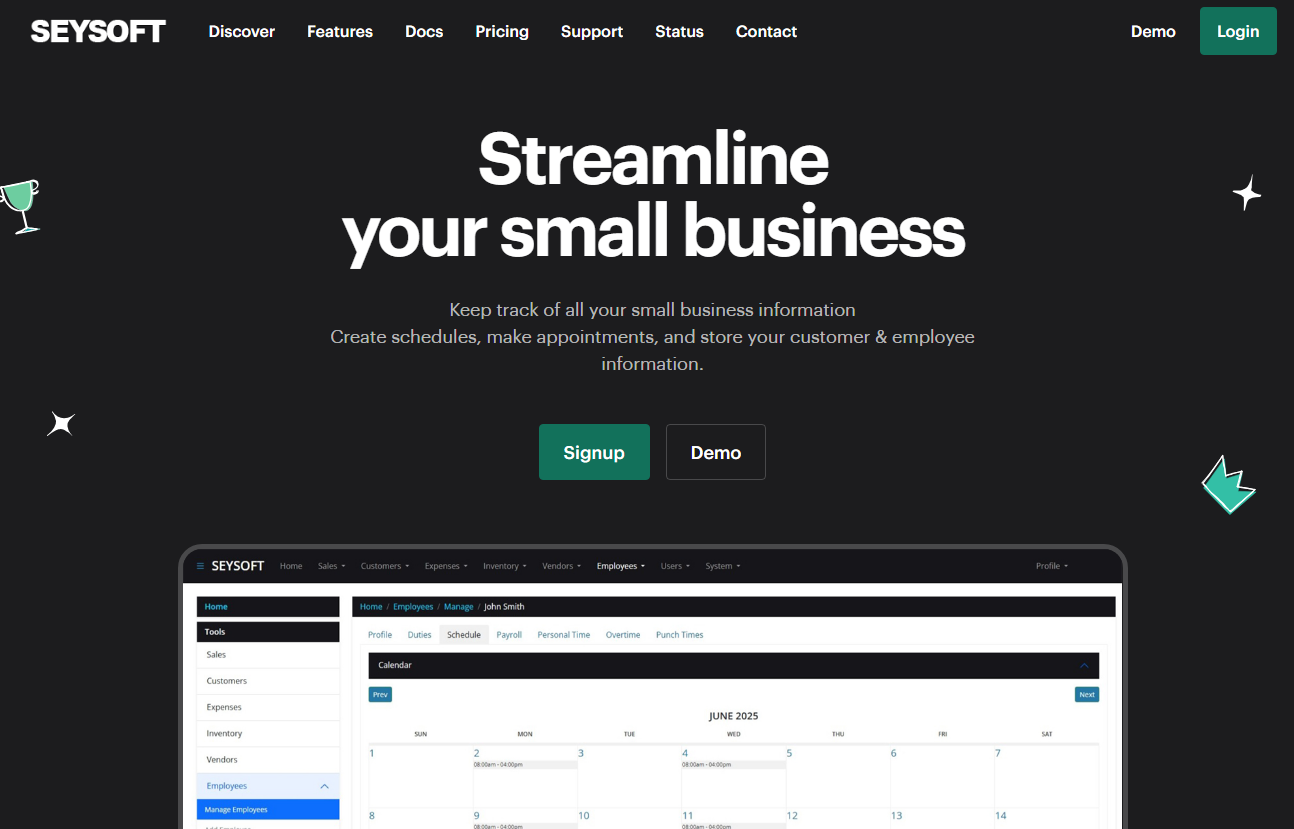
After making an account logging in is simple. You can find the login link from our main website https://seysoft.co on the top menu. The green Login button located at the top right of the page will take you to the https://app.seysoft.co webpage.
Below is a screenshot of our main website. You can see from the main menu where the login button is.
Once you have clicked that green button you will be brought to the application page that looks like the screenshot below:
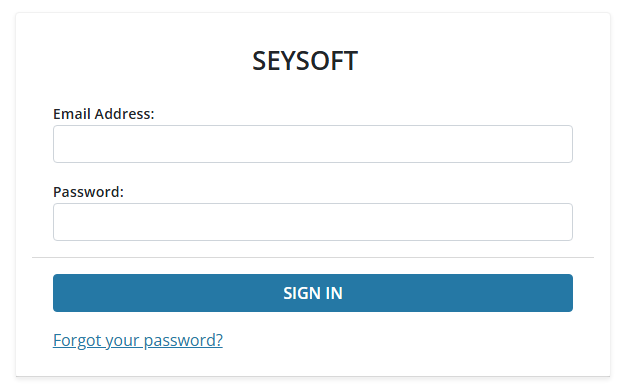
In order to login you must use the email address and password you originally used to create your account when you paid for a subscription. The login page also features a forgot password link incase you forgot the password you used when creating your account. If for some reason you are having trouble logging in you can make a help desk ticket. If you are also having issues with the help desk support section then we recommend using the Contact section of the main website.
Forgot Password
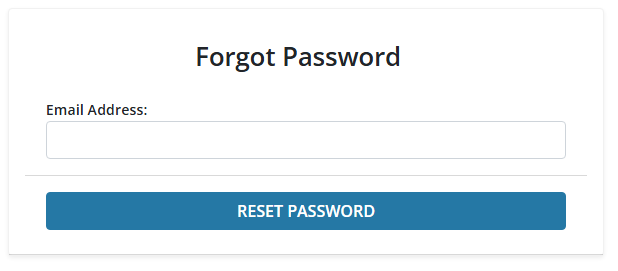
If you are having trouble remembering your password on the main login page, you can click the Forgot your password? link as shown in the screenshot below.

Clicking that link will bring you to a new page where you must enter in the email address you used to sign up with. Below is a screenshot for reference. If you type in the correct email address you used to make your account, you will then be sent an email with instructions for resetting your account password. Be sure to give that email up to an hour to reach your mail box and be sure to check the spam folder. All emails come from our support@seysoft.co account. The email instructions will provide a unique link for you that will allow you to reset the password for your account.
If you never receive an email from us it is possible you are typing in the wrong email account, you can always email our support address but we may require additional information to verify your account and its status.
Cancellation
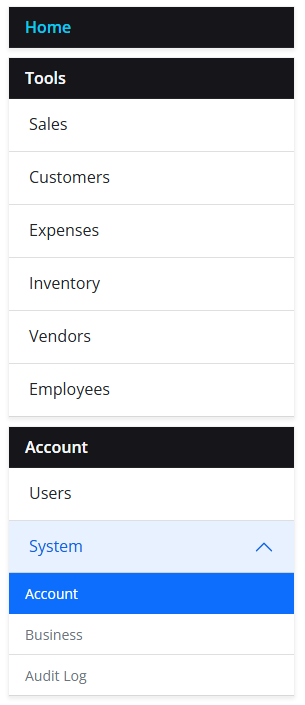
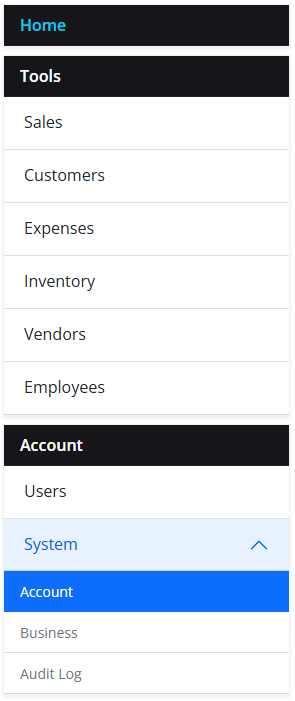
If you would like to cancel your current subscription, you must first login to the application. Once logged in, from the left hand side menu click System under the Account section to drop down the other menu items. Then click Account.
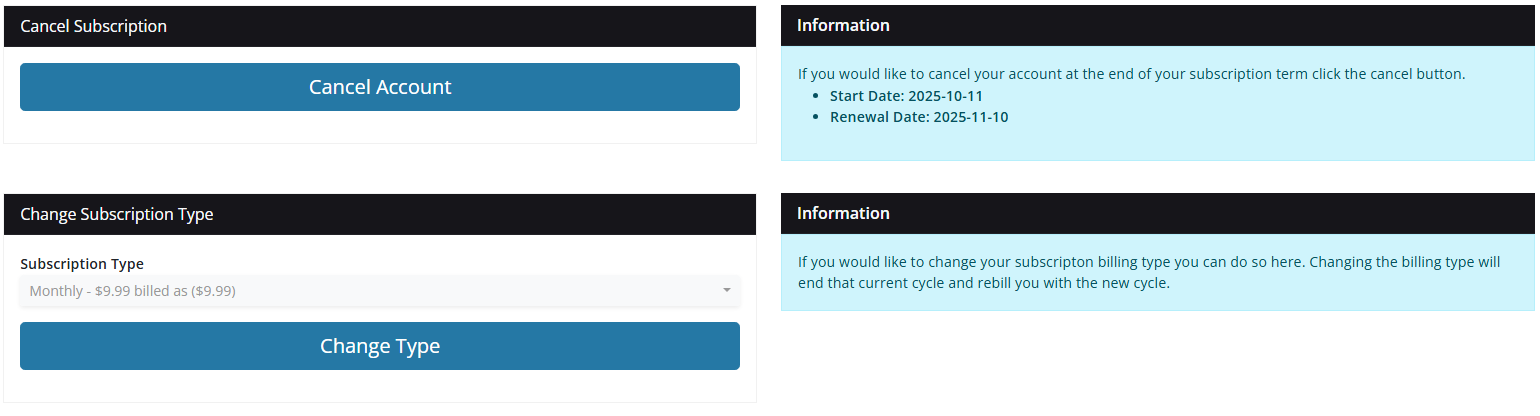
This will pull up your account information. Near the middle of the page below the section called Account Information you will see the two following sections.
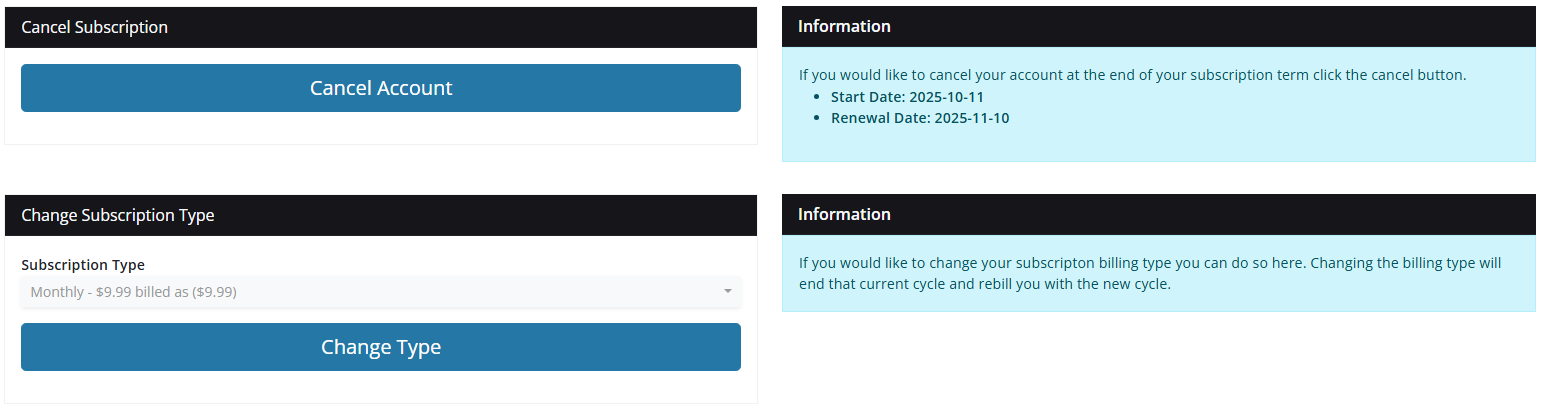
Canceling your account is as simple as clicking the blue Cancel Account button as seen above. On the right hand side you will also see information regarding your subscription like the Start Date and Renewal Date. If you would like you can also adjust your subscription type here. Adjusting the subscription type allows you to switch to our other plan types.
Change Subscription
If you would like to change your subscription type you can do so by first logging into the application and then clicking the System menu item from the left hand side of the screen under Account. After clicking System, more menu items become available from the drop down, click Account. View the screenshot below for reference.
After clicking the Account sub menu item, your account information will display near the middle of the screen. Under the Account Information section is Cancel Subscription and Change Subscription Type. The three subscription types we provide are:
- Monthly - $9.99 billed as ($9.99)
- Biannually - $7.99 billed as ($47.94)
- Annually - $4.99 billed as ($59.88)
If you would like to change your subscription type, click directly above the blue Change Type button where your current subscription is listed. In the example above you would be clicking Monthly - $9.99 billed as ($9.99). This is a drop down button that will let you pick our other options. Once clicked you will be shown the other choices in a popup window as shown in the screenshot below.
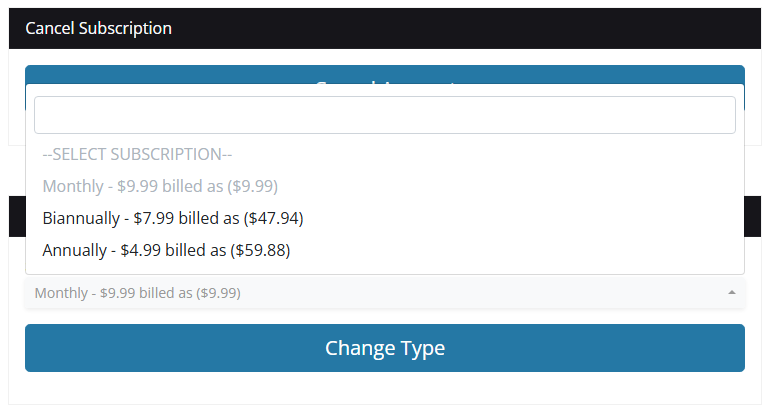
You will not be able to select your own plan again, simply click the plan you wish to switch to and click the blue Change Type button. This will bring you to the payment page where you can pay for your new plan type.
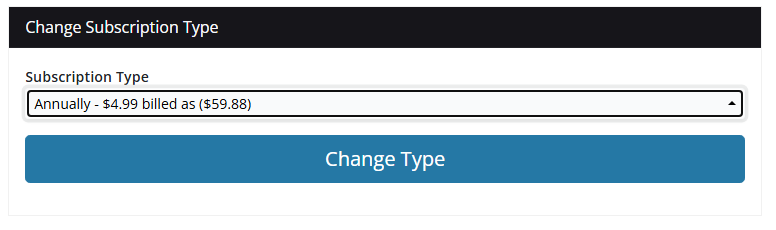 In the screenshot example above we switched from Monthly to Annually. After changing the selection we would next click the Change Type button.
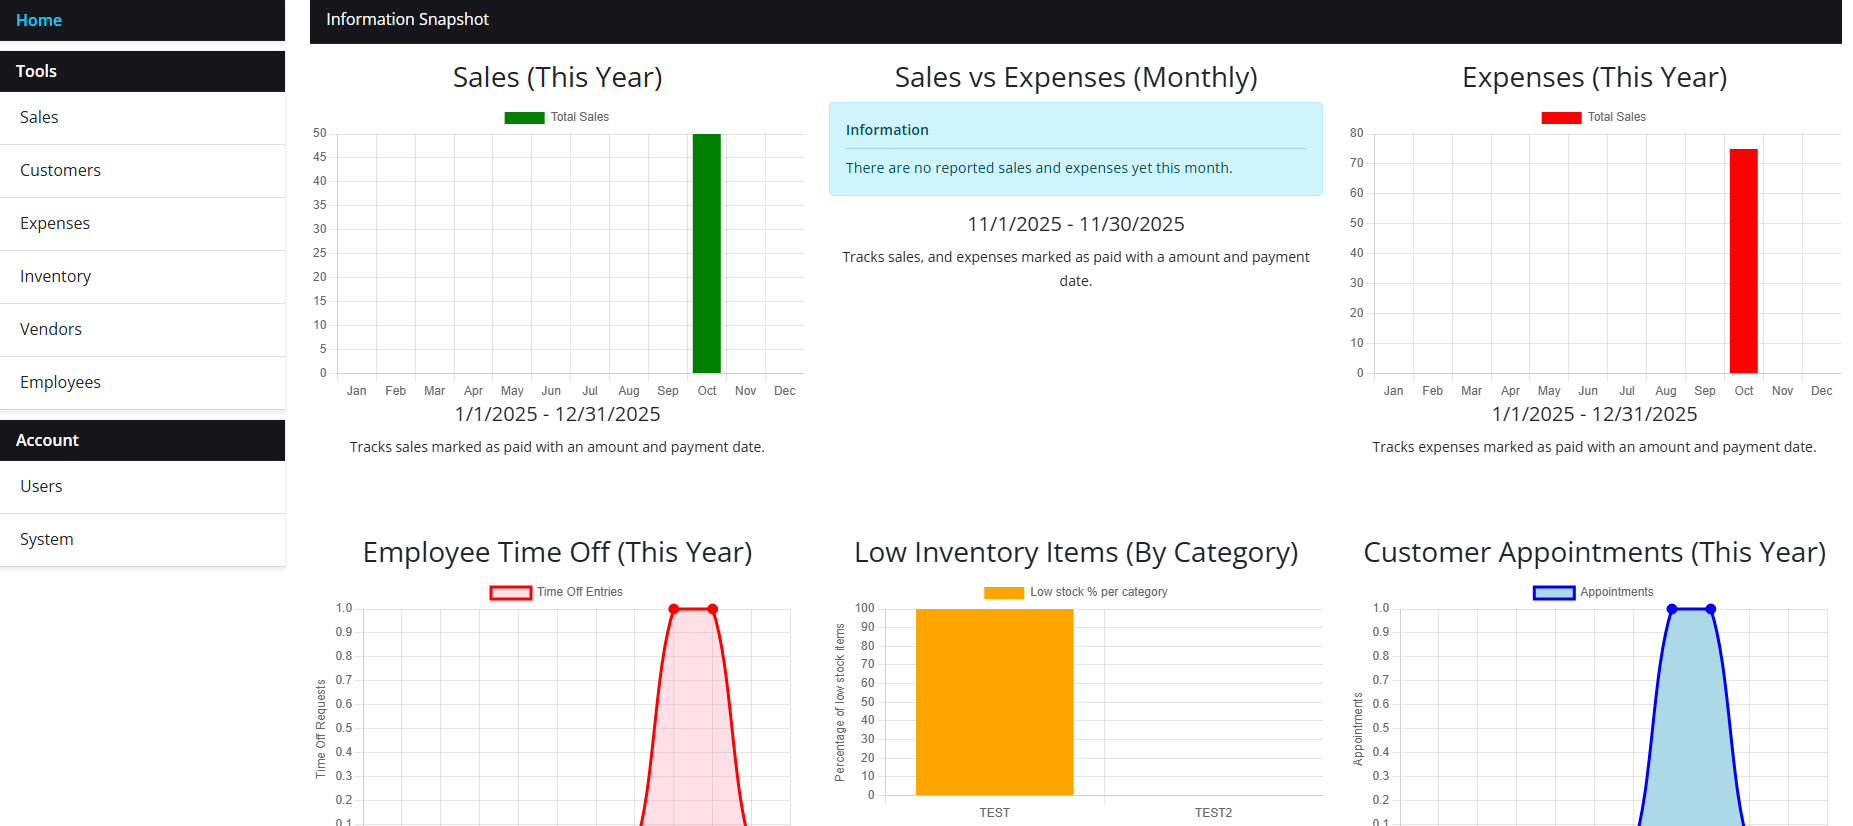
Home - Information Snapshot
The Seysoft home page provides an Information Snapshot of your business with a variety of different charted statistics. These charts are automatically populated based on the information collected regarding your sales, expenses, employees, and inventory. Our system automatically parses this information and the charts are predetermined. As a possible feature update we are considering allowing our users to create their own homepage based charts but currently the charts on the Information Snapshot are already coded in. The charts provided on the homepage are:
- Sales (By the current year)
- Looks for sales that are marked with a status of Paid AND
- Looks for sales that are marked with a payment date
- Sales vs Expenses (Monthly by the current year)
- Looks for sales that are marked as paid with a payment date
- Looks for expenses that are marked as paid with a payment date
- Expenses (By the current year)
- Looks for expenses that are marked with a status of paid AND
- Looks for expenses that are marked with a payment date
- Employee Time off (by the current year)
- Looks at recorded employee time off.
- Low Inventory Items (by category)
- Looks for Inventory items where the stock feature is on AND
- Looks for inventory items where the inventory quantity is less then or equal to 5
- Describes what percentage of this category is low
- Customer Appointments (by the current year)
- Tracks and counts appointments by month for the current year
- Top 10 Sales by Product (by the current year)
- Tracks the most sold inventory items
- Sales must be attached to an inventory item AND
- Sale must be marked as paid AND
- Sale must have a payment date
- Sales minus Expenses (by the current year)
- Looks at sales that have a status marked as Paid AND
- Looks at sales that have a payment date AND
- Looks at expenses that have a status marked as Paid AND
- Looks at expenses that have a payment date AND
- Subtracts the expenses from the sales to show month by month for the current year
- New Customers Added (by the current year)
- Looks at the internal time stamp for when you added a new customer into the system.
- Counts those added customers by month for the current year
- Sales Unpaid (by sales that have a status of pending or on hold)
- Looks for sales that have a status of Pending or On Hold AND
- Looks at the internal timestamp to see when they were entered and how long it has been
- Expenses by Inventory Item
- Looks for expenses that are attached to inventory items
- Year over Year Sales (sales from last year compared to sales of the current year)
- Looks for sales that are marked with a status of Paid AND
- Looks for sales that are marked with a payment date AND
- Checks the sales by payment date for last year and the current year
Below is a screenshot example of the homepage. As you can see there is a title for what the chart reflects, and a description that will usually feature the time frame range with additional information if it is available. If that information cannot be parsed into a chart you will see a Blue Information box that will tell you why it cannot do so.